How to Bag Train Your Pet Before You Travel: A Complete Guide to Carrier Training Success
Share
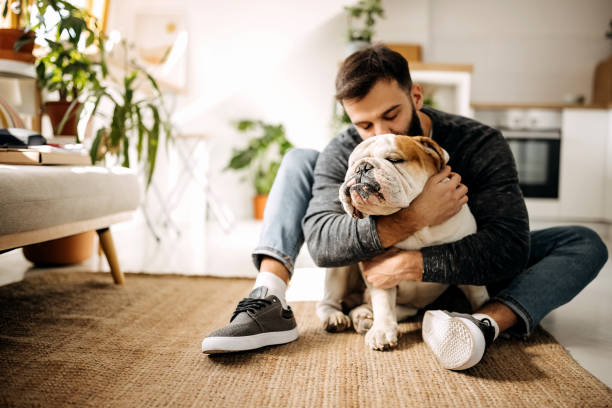
Traveling with your pet should be an adventure, not a stressful ordeal. Yet more than 20% of soft-sided pet carriers are damaged or destroyed by pets that haven't been properly trained to use them. This startling statistic reveals a critical gap in pet travel preparation that many owners overlook until it's too late.
Whether you're planning your first flight with your furry companion or simply want safer car trips, proper pet carrier training is essential. This comprehensive guide will walk you through the proven 6-8 week process that transforms an unfamiliar carrier into your pet's comfortable travel sanctuary.
Why Pet Carrier Training Is Non-Negotiable
A frightened or overly excited animal can bite, scratch, or claw through mesh and fabric in moments of panic. Beyond the damage to your carrier, an untrained pet faces genuine safety risks during travel—from increased anxiety to potential injury if they lose balance while standing in a moving carrier.
Airline pet carrier preparation goes far beyond simply purchasing the right size bag. Your pet needs time to acclimate, build positive associations, and learn the proper positioning that keeps them safe and calm throughout the journey.
Never Force or Leave Unattended
Before we dive into the training steps, understand these two cardinal rules:
• Never push your pet into the carrier. Forcing creates negative associations that can take months to overcome.
• Never leave your pet unattended in a closed carrier during the training phase. An anxious pet may panic and cause serious damage to the carrier or injure themselves attempting to escape.
Weeks 1-2: The Introduction Phase
Start your pet travel training by making the carrier a familiar presence in your home. Place it open in areas where your pet spends the most time—near their bed, in the living room, or by their favorite window spot.
Cat carrier training tips and dog training both benefit from the treat method: randomly toss small treats inside the carrier throughout the day. Let your pet investigate on their own terms. Leave both doors open and use toys to encourage exploration, particularly through the top opening.
The goal isn't containment yet—it's curiosity and comfort.
Weeks 3-4: Building Duration and Comfort
Once your pet willingly enters the carrier, begin extending their time inside. Place the carrier next to you on the couch while watching TV, with your pet inside and one door open. When they're relaxed with this arrangement, close the second door for progressively longer periods—always keeping the carrier beside you where they can see you.
Critical tip: Exercise your pet thoroughly before each training session. A tired dog or cat is far more likely to relax in the carrier than one full of excess energy. For puppies and kittens, provide appropriate chew toys to redirect their energy away from Velcro, frames, and interior components.
Weeks 5-6: Teaching Proper Positioning
Here's where preventing pet carrier damage becomes crucial. Your pet must learn to lie down when being carried—never stand. A standing pet easily loses balance, becomes nervous, and may panic when you're in motion.
Begin carrying your pet around your home using the handles first, then progress to the shoulder strap, and finally the backpack configuration. If your pet stands up, stop immediately and help them lie down again before continuing.
The proper sequence for teaching pet to lay down in carrier:
1. Let your pet walk into the carrier on the floor
2. Close the doors and guide them to lie down through the top opening
3. Lift the carrier onto a table or sofa
4. Attach the straps to yourself
5. Keep your hand inside the top opening to calm and ensure they stay lying down
6. Walk around for 30 minutes, maintaining the lying position
7. Only after they've mastered lying down should you teach them to sit with their head out the top This sequence matters tremendously. Teaching sitting first makes lying down nearly impossible to train later.
Progressive Real-World Practice
Once your pet remains calm while being carried at home, introduce short outings: car rides to the end of the block, quick errands, brief train trips. These experiences build confidence in varied environments while letting you test which carrying configuration works best for you.
Making the Carrier a "Home Away from Home"
The ultimate goal of pet carrier acclimation is transforming the bag into your pet's secure retreat wherever you go. When the carrier becomes their familiar den, they'll feel comfortable at hotels, friends' homes, the vet's office, or anywhere new.
This familiarity also prevents anxiety during actual travel days, as your pet isn't dealing with both a new environment and an unfamiliar carrier simultaneously.
Special Considerations for Flying with Pet
Preparation Airline approved pet carrier training requires a few additional considerations:
Before booking: Verify your airline's specific pet policies, weight limits, and under-seat dimensions. These vary significantly, even between aircraft in the same airline's fleet.
Seat selection matters: Avoid aisle seats, front rows, premium economy, and emergency exit rows—these often lack adequate under-seat space for carriers.
Day-of-travel protocol:
• Don't feed your pet for 4-6 hours before the flight
• Provide small amounts of water during travel
• Repeat intensive training sessions 3-4 days before your first flight
What If Training Isn't Working?
Pet carrier bag training steps don't always progress smoothly. Some pets need extra time, others respond better to different techniques. If your pet shows signs of distress—clawing at mesh, biting frames, or attempting to escape when doors are closed—pause and return to earlier training stages.
Don't give up. Contact Natuvalle's customer service team for personalized guidance. We're pet lovers too, and we're here to help you succeed.
Your Next Steps to Stress-Free Travel
Soft-sided pet carrier safety begins with proper training, but it also requires a well-designed carrier built to withstand the rigors of travel. Quality construction, reinforced mesh, durable frames, and secure closures all contribute to your pet's safety and your peace of mind.
Ready to start your pet's training journey? Browse our collection of airline-approved pet carriers designed specifically for travel comfort and durability. Not sure which size is right? Check our guide on How to Measure Your Pet for the Perfect Carrier Size to ensure the best fit for successful training.
Remember: investing 6-8 weeks in carrier training now means years of confident, comfortable travel with your beloved companion.
Have questions about training your specific pet? Our team is here to help—contact us anytime at [support contact]. We care because we're animal lovers, just like you.